• Paisajes Dramáticos


    En muchas ocasiones me han preguntado por la técnica digital que empleo para aportar dramatismo a mis paisajes.

    Esta toma la realicé muy cerca de Fernán Nuñez (Córdoba – España -) una tarde de agosto.

    Many times I have been asked about the technique I use to make my landscapes more dramatic.

    This shot was taken very close to Fernán Nuñez (Córdoba – Spain) one afternoon in August.

    Cerro con nubes - jgarcía © 2006 -

    Cámara Nikon D200
    Abertura f6.3
    Velocidad 1/1000sg
    Longitud focal 55mm
    ISO 100

    (más…)

  • Gelatina de Fresa 2


    Respondiendo a la sugerencia de Juan Luis Cabrero (Busca2) he aumentado la saturación del color rojo de la gelatina. Para ello he utilizado el método explicado en Colores más Intensos.

    In response to the suggestion made by Juan Luis Cabrero (Busca2) I have increased the saturation of the colour red of the jelly. I used the method explained in Colores más Intensos to carry this out.

    Gelatina de Fresa 2 - jgarcía © 2006 -

    Cámara Nikon D200
    Abertura f4.5
    Velocidad 1/100
    Longitud focal 70mm
    ISO 100

  • Efecto Piel de Porcelana


    Para explicar como se lleva a cabo este retoque digital vamos a utilizar Hot Swimwear Chick del australiano Summer Fisher.

    La imagen original recortada es la siguiente:

    To explain how to carry out this digital retouch we will use Hot Swimwear Chick taken by the Australian Summer Fisher.

    The clipped original image is the following:

    Chica original de Summer Fisher

    Puntos de actuación preliminar
    Con la Herramienta Licuar estilizamos la nariz y aumentamos el volumen del pecho y los labios. También aumentados la saturación del color de los ojos y blanqueamos los dientes… obtenemos este resultado:

    With the Liquify Tool we stylize the nose and increase the size of the bust and lips. We also increase the saturation of the colour of the eyes and whiten the teeth… we obtain this result:

    Resultado Primera Fase

    Ahora para suavizar la piel de la modelo vamos a seguir los siguientes pasos:

    1.- Duplicar capa (Ctrol+J)
    2.- Con el Pincel Corrector (Heal Brush) clonamos las espinillas y otras impurezas de la piel.
    3.- Filtro/Ruido/Polvo y Raspaduras (Filter/Noise/Dust&Scratches). Aplicamos un Radio de 5px y un Umbral (Threshold) de 0px.
    4.- Filtro/Desenfoque/Desenfoque Gaussiano (Filter/Blur/Gaussion Blur). Radio 2px.
    5.- Filtro/Ruido/Añadir Ruido (Filter/Noise/Add Noise). Aplicar un 0.8% de Ruido MONOCROMÁTICO con distribución UNIFORME.
    6.- Aplicamos una Máscara a la capa.
    7.- Imagen/Ajustes/Invertir (Image/Adjustments/Invert).
    8.- Con un Pincel suave de color Blanco vamos pintando sobre la piel de la modelo hasta conseguir efecto buscado.

    Follow the following steps to soften the skin of the model:
    1.- Duplicate layer (Ctrl+J)
    2.- With the Heal Brush clone the pimples and other skin imperfections.
    3.- Filter/Noise/Dust & Scratches. Apply a radius of 5px and a Threshold of 0px.
    4.- Filter/Blur/Gaussion Blur. Radius 2px.
    5.- Filter/Noise/Add Noise. Apply 0.8% of MONOCHROMATIC noise with UNIFORM distribution.
    6.- Apply a layer mask.
    7.- Image/Adjustments/Invert.
    8.- With a soft white brush paint over the skin of the model until we achieve the desired effect.

    Resultado Segunda Fase

    9.- Por último ajustar la Opacidad de la capa al 75%.

    9.- Lastly adjust the Opacity of the layer to 75%.

    Resultado Final por jgarcía

    Con anterioridad hemos publicado otros artículos explicando como es puede mejorar un retrato:

    1. Mejorando un retrato.
    2. Mejorando un retrato 2.
    3. Mejorando un retrato 3.
    4. Mejorando un retrato 4.
    5. Mejorando un retrato 5.
    6. Mejorando un retrato 6.
    7. Mejorando un retrato 7.
    8. Quitar Ojeras.
  • Crea un Life Poster


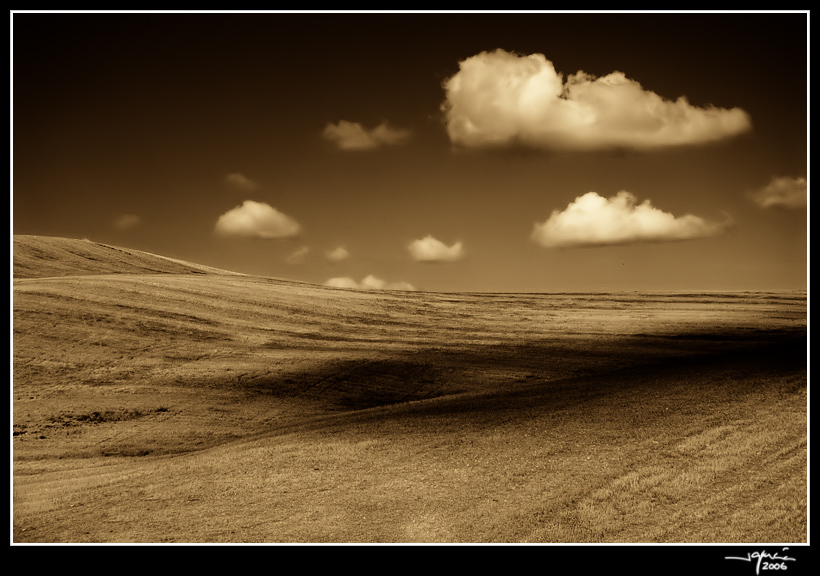
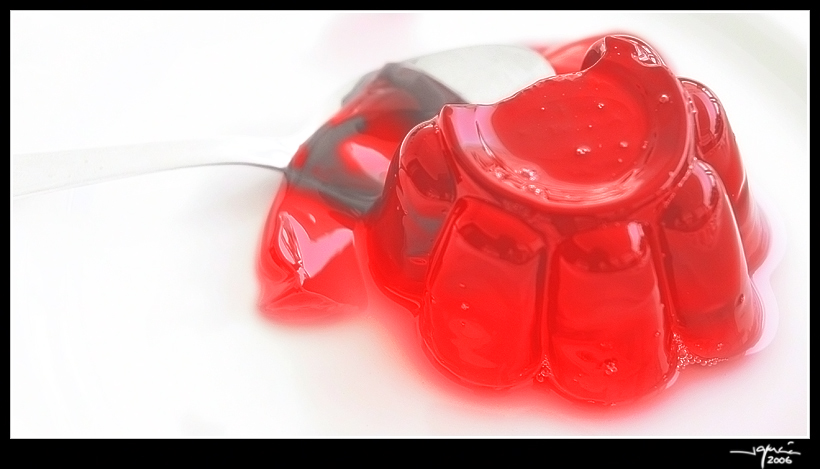
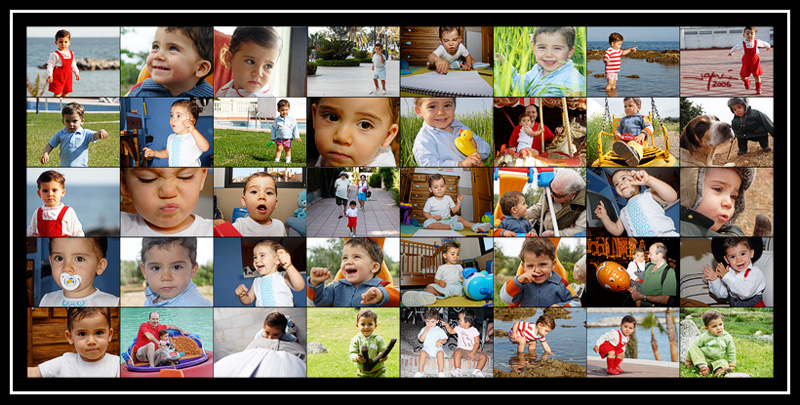
    Un Life Poster es un cartel que presenta en forma matricial una colección de fotografías relacionadas entre sí. Podemos hacer un life poster sobre unas vacaciones, un viaje, una persona o nuestra afición preferida.

    A Life Poster is a poster which presents a collection of photographs related to each other in a grid format. We can make a life poster about a holiday, a journey, a person or our preferred hobby.

    Life Poster - jgarcía © 2006 -

    Para crearlo con PhotoShop debemos seguir las siguientes instrucciones:

    1.- Copiar todas las imagenes que deseamos añadir al life poster en una carpeta.
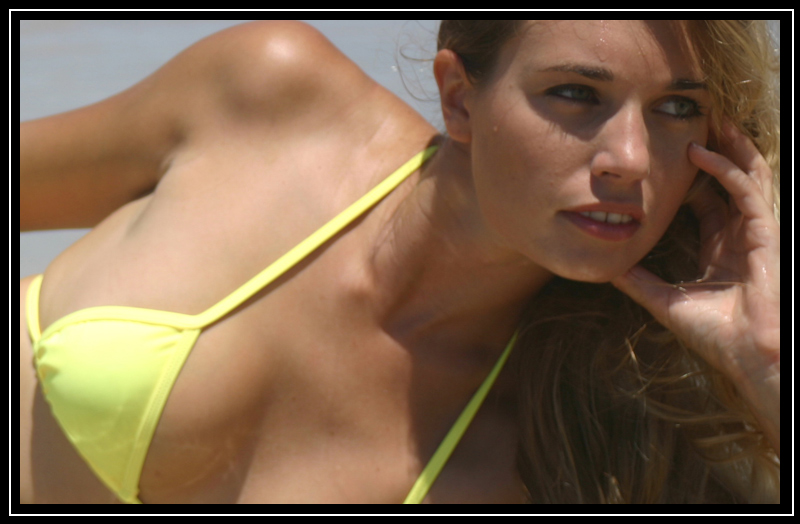
    2.- Aplicar a todas las imágenes el mismo recorte (Herramienta Recortar), por ejemplo con una proporción de 4:3.
    3.- Fichero/Automatización/Hoja de Contacto II (File/Automation/Contact Sheet II)
    4.- Configurar del life poster: tamaño del poster, número de columnas y filas, resolución, color y activar la casilla de verificación de auto-espaciado(o indicar el espacio que deseamos dejar entre las fotos).
    5.- Añadir un marco a la imagen.
    6.- Imprimir o encargar la impresión.

    To create one with PhotoShop follow the following instructions:

    1.- Copy all the images to be added to the Life Poster in a folder.
    2.- Crop the images to the same size, with a proportion of 4:3, for example.
    3.- File/Automation/Contact Sheet II.
    4.- Configure the life poster: size, number of columns and rows, resolution, colour and activate the auto-spacing check box (or specify the space between photos).
    5.- Add a frame to the image.
    6.- Print or order a print from a professional printers.

  • Convert to B&W: Plugin para pasar a Blanco y Negro


    Con anterioridad hemos descrito varios métodos para pasar a blanco y negro una fotografía:

    We have previously described various methods to convert a photograph to black and white.
    1. Pasar a Blanco y Negro
    2. Pasando a blanco y negro 1
    3. Pasando a blanco y negro 2
    4. Pasando a blanco y negro 3

    Ahora os presento Convert to B&W Pro Versión de Imaging Factory.

    Dunas - jgarcía © 2006 -

    Se trata de un plugin de PhotoShop que se puede usar con MacOS X / Win XP que nos facilita mucho las conversiones de las fotografías a blanco y negro con resultados sorprendentes.

    Se puede descargar gratuitamente para probarlo durante 30 días.

    This is a plugin for PhotoShop which can be used with MacOS X / Win XP which facilitates the conversion to black and white with surprising results.

    A free download is available for a 30 day trial period.

  • Ojo


    Un homenaje al El Ojo pintado por el virtuoso M. C. Escher.

    A homage to The Eye painted by the virtuoso M. C. Escher.

    Ojo - jgarcía © 2006 -

    Para realizar el fotomontaje, a la capa de la calavera le apliqué el modo fusión Trama (Screen) y una Opacidad del 39%.

  • Eliminar Objetos Indeseados


    En ocasiones nos puede interesar eliminar elementos indeseados que se «colaron» en el encuadre. Para ello podemos utilizar las herramientas de Tampón de Clonar y el Pincel Corrector. En el caso de que la imagen disponga de algo de perspectiva nos puede resultar interesante conocer esta nueva herramienta de PhotoShop CS2: Punto de Fuga (Vanishing Point)

    On occasions we may want to eliminate undesirable elements from the frame. In order to do this we can use the clone stamp tool and the corrector brush tools. In cases in which the image has some perspective this new PhotoShop CS2 tool: Vanishing Point may prove interesting.

    Luis Almeida ha montado este videotutorial en el que explica como aplicar esta nueva herramienta.

    Luis Almeida has prepared this video tutorial in which he explains how to use this new tool.

  • Quitar Ojeras


    Para mejorar un retrato podemos utilizar muchas técnicas como ya expusimos en:

    1. Mejorando un retrato.
    2. Mejorando un retrato 2.
    3. Mejorando un retrato 3.
    4. Mejorando un retrato 4.
    5. Mejorando un retrato 5.
    6. Mejorando un retrato 6.
    7. Mejorando un retrato 7.

    Un retoque interesante es el que permite eliminar o suavizar las ojeras en los retratos. Para estos casos utilizo la Herramienta Tampón de Clonar en el modo Aclarar con un pincel suave, al 25% de Opacidad.

    In order to improve a portrait we can use many techniques as already explained in:

    1. Improving a portrait.
    2. Improving a portrait 2.
    3. Improving a portrait 3.
    4. Improving a portrait 4.
    5. Improving a portrait 5.
    6. Improving a portrait 6.
    7. Improving a portrait 7.

    An interesting retouch is one which allows us to eliminate or soften the eye bags in our portraits. In these cases I use the clone stamp tool in light mode with a soft brush at 25% opacity.

    Este es el resultado obtenido con este método:

    This is the result obtained using this method:

    Sin Ojeras por jgarcía © 2006

    La fotografía original:

    The original photograph:

    Fotografía original
    María Pilar Guerrero ha montado este video tutorial en el que muestra como se pueden eliminar las ojeras utilizando las herramientas Parche y Pincel Corrector.

    María Pilar Guerrero has put together this video tutorial in which she shows us how to eliminate eye bags using the patch and brush corrector tools.
  • Combinar Rostros


    Para mezclar dos retratos podemos utilizar el siguiente retoque:

    1.- Abrimos los dos retratos que llamaremos imagen A y B.
    2.- Crear una nueva capa bajo la imagen A.
    3.- Seleccionamos con la herramienta Lazo el contorno de la cara.
    4.- Selección/Calado a 2-5px
    5.- Suprimir el area seleccionada pulsando la tecla Supr.
    6.- Deseleccionamos (Ctrol+D)
    7.- Copiar la imagen B(Ctrol+A y Ctrol+C).
    8.- Pegar la imagen B bajo la capa de la imagen A (en la capa creada en el paso 2).
    9.- Desplazar capa hasta posición óptima.

    En este caso he encajado el rostro de George Clooney en la cara de Bruce Willis.

    In order to mix two portraits we can use the following retouch:

    1. Open the two portraits which we will call image A and B.
    2. Create a new layer under image A.
    3. Select with the lasso tool the outline of the face.
    4. Selection/Feathered at 2-5 px.
    5. Delete the selected area pressing the Del key.
    6. Deselect (Ctrl+D)
    7. Copy image B (Ctrl+A and Ctrl+C).
    8. Paste image B to the layer under image A. (the layer created in step 2)
    9. Displace the layer to the optimal position.

    In this case I have inserted the face of George Clooney where Bruce Willis’s should be.

    Willis + Clooney por jgarcía 2006

    Luis Almeida ha montado este videotutorial en el que explica como aplicar este retoque digital.

    Luis Almeida has created this videotutorial in which he explains how to apply this digital retouch.
  • Sustituir Fondos


    Para sustituir el fondo de un retrato podemos utilizar el siguiente método:

    1. Abrir fotografía con PhotoShop.
    2. Duplicar Capa (Ctrol+J)
    3. Filtro/Extraer
    4. Definimos la silueta que deseamos extraer.
    5. Con la herramienta de Relleno (Cubeta) señalamos en el interior del área a extraer.
    6. Previsualizamos
    7. Perfeccionamos la silueta.
    8. Aceptamos la extracción.
    9. Seleccionamos la capa del fondo.
    10. Creamos una nueva capa
    11. Copiamos (Ctrol+C) y pegamos(Ctrol+V) el nuevo fondo en la capa creada en el paso anterior.
    12. Adaptamos el tamaño del fondo (Edición/Transformar/Distorsionar).
    13. Aplicamos un desenfoque gaussiano al fondo (Filtro/Desenfoque/Desenfoque Gaussiano).
    To substitute the background of a portrait we can use the following method:

    1. Open the photograph in PhotoShop.
    2. Duplicate layer.
    3. Filter/Extract.
    4. Define the silhouette we want to extract.
    5. Indicate the area to be extracted with the fill tool.
    6. Pre-visualize.
    7. Perfect the silhouette.
    8. Accept the extraction.
    9. Select the background layer.
    10. Create a new layer.
    11. Copy (Ctrl+C) and Paste (Ctrl+V) the new background to the layer created in the previous step.
    12. Adapt the size of the background (Edit/Transform/Distort).
    13. Apply a Gaussian blur to the background (Filter/Blur/Gaussian blur).

    Resultado Final por jgarcía 2006

    He creado este breve videotutorial (3 minutos 26 segundos) que os puede ayudar a aprender esta técnica para extraer sujetos de las imágenes.

    I have made this brief videotutorial (3 minutes 26 seconds) which may help you to learn this technique of extracting subjects from images.

Web · Vídeos · Libros · Autor

Está estrictamente prohibida la reproducción, parcial o total de los contenidos de esta web, sin el acuerdo previo por escrito del autor.

García-Gálvez © 2005-2020