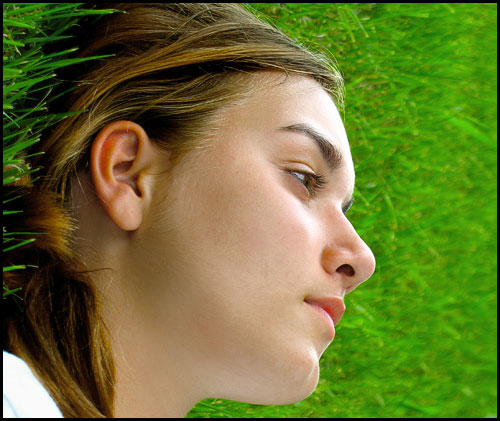
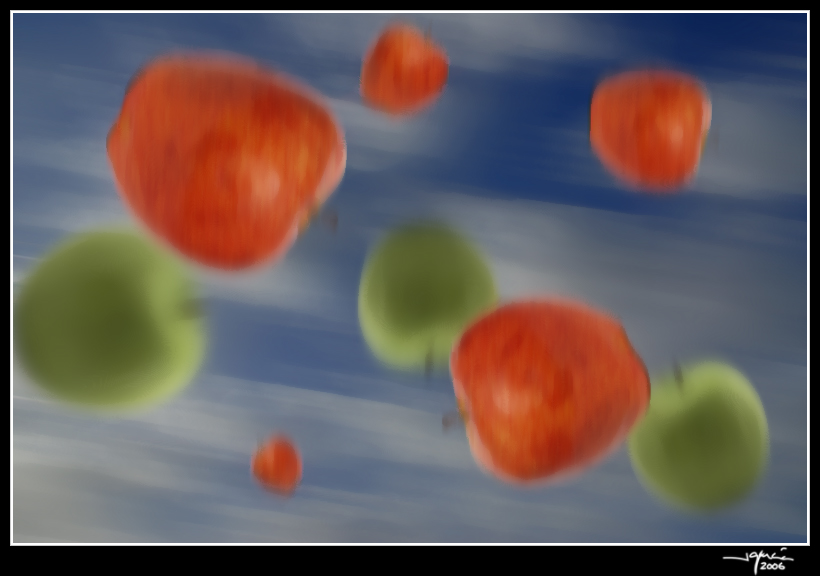
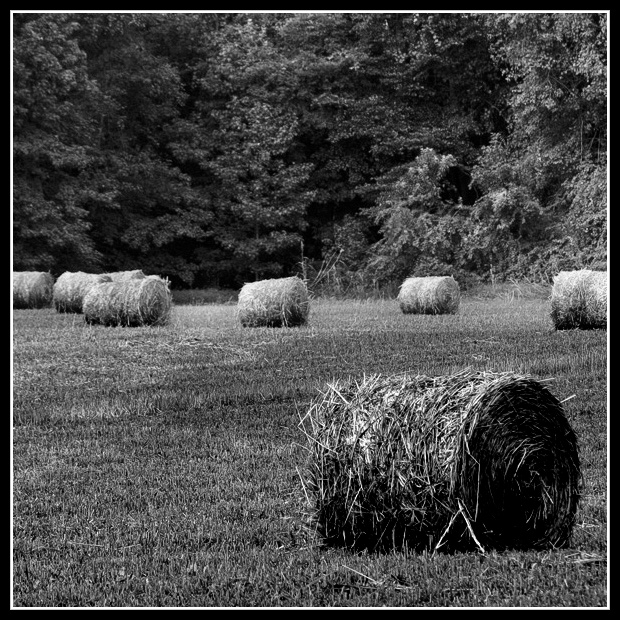
Para explicar esta técnica voy a emplear una bonita fotografía titulada Hay harvest, Two, de mi amigo uruguayo Luis Andrade.
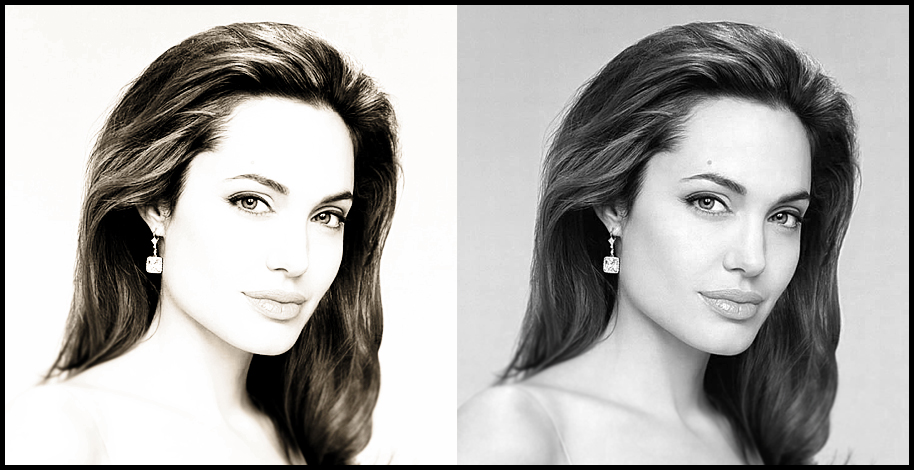
Este es el resultado final del retoque digital:
In order to explain this technique I will use a photograph titled
Hay harvest, Two taken by my Uruguayan friend
Luis Andrade.
This is the final result of the digital retouch:

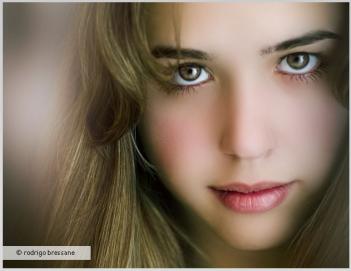
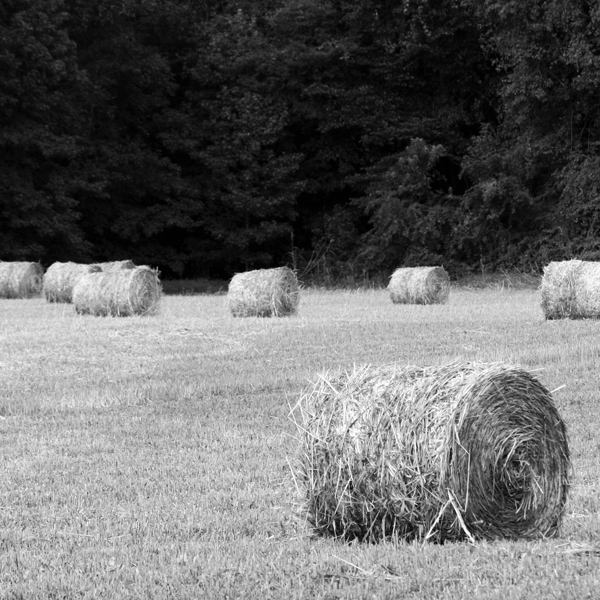
En la fotografía original podemos detectar una falta de contraste y una gran diferencia entre la subexposición del fondo (en el que casi no se distinguen los árboles) y la iluminación de los primeros planos.
In the original photograph we notice a lack of contrast and a great difference between the underexposure of the background (in which the trees can hardly be identified) and the illumination of the foreground.

En la era analógica, cuando el Cuarto Oscuro era el centro del Postprocesado, para obtener copias con una exposición ideal en escenarios con grandes diferencias de luz, durante el positivado con la ampliadora se usaban cartulinas (máscaras) para tapar parcialmente el papel fotográfico durante parte del tiempo de exposición. De esa manera se hacía antes…
Ahora disponemos del Cuarto Oscuro digital: PhotoShop más una casi infinita lista de recursos software.
In the
analogue era, when the
dark room was the centre of post processing, to obtain copies with an ideal exposition from scenes with large differences in lighting, during the printing process using the amplifier, cards (masks) were used to partially cover the photographic paper for some of the exposition time. This is how it was done before…
Nowadays we have at our disposal the digital dark room: PhotoShop plus an almost endless list of software resources.
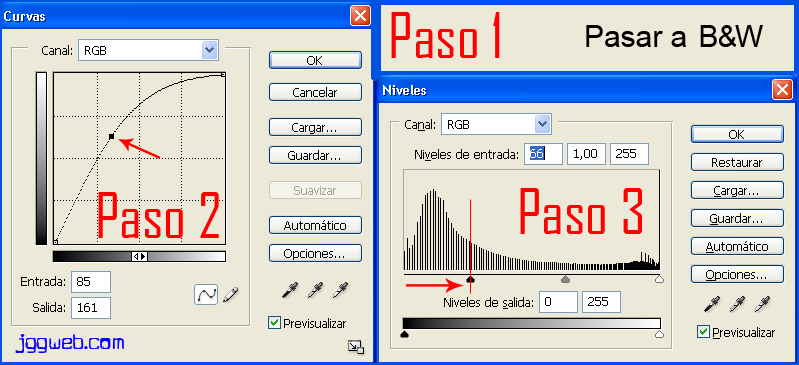
Hoy voy a intentar explicaros como se puede aplicar un Ajuste de Curvas por Zonas:
1.- Abrimos la imagen a retocar.
2.- Con la herramiente Lazo seleccionamos una de las zonas a ajustar, por ejemplo la parte inferior de la imagen (paja y pacas).
3.- Aplicamos un calado. Selección/Calar… (Selection/Feather). Para estas imágenes pequeñas podemos aplicar un calado de radio 20 px. A mayor tamaño de la imagen, mayor calado.
4.- Duplicamos la zona seleccionada haciendo uso del método abreviado Ctrol+J, a la que llamaremos Zona Inferior.
5.- Aplicamos ajuste de curvas para optimizar la parte inferior de la imagen, para ello accederemos a Imagen/Ajustes/Curvas.
6.- Seleccionamos la capa del fondo en la Paleta Capas.
7.- Seleccionamos la parte superior de la imagen con la herramienta Lazo.
8.- Aplicamos un calado. Selección/Calar… (Selection/Feather) Radio 20px.
9.- Duplicamos la zona seleccionada haciendo uso del método abreviado Ctrol+J, a la que llamaremos Zona Superior.
10.- Aplicamos ajuste de curvas para optimizar la parte superior de la imagen, para ello accederemos a Imagen/Ajustes/Curvas.
11.- Capa/Combinar Imagen.
Here I will try to explain how to apply a
Curve Adjustment by Zones:
1.- Open the image to be retouched.
2.- With the Lasso tool select one of the areas to be treated, for example the lower part of the image (straw and bales).
3.- Apply some feathering. Selection/Feather. For small images like this one we can apply a feather radius of 20px. The bigger the image the larger the feathering.
4.- Duplicate the selected area using Ctrl+J which we will call Lower Area.
5.- Apply a curve adjustment to optimize the lower part of the image. Image/Settings/Curves.
6.- Select the background layer in the Palette Layers.
7.- Select the upper part of the image with the Lassoo tool.
8.- Apply some feathering. Selection/Feather. Radius 20px.
9.- Duplicate the selected area using Ctrl+J which we will call Upper Area.
10.- Apply a curve adjustment to optimize the upper area of the image. Image/Settings/Curves.
11.- Layer/Merge Image.


